Adding a certificate to the vShield manager should be a straightforward process according to the documentation a dozen steps at most. But my experience has been anything but straightforward. A few additional steps are required to successfully import a signed certificate.
Firstly we need a certificate on the vShield Manger to enable us to encrypt information sent to the vShield Manager web server. You can still use the vShield Manager without a certificate but you will get a warning message each time you visit the page unless you an exception. In secure environments this is not an option and a certificate must be installed.
Prerequisites
- You have a Certification Authority (CA) installed and configured.
- DNS has been configured for the vShield Manager(s).
- Your CA/Request supports the Subject Alternative Name (SAN) attribute.
The SAN attribute enables a single certificate to be bound to multiple names on a single computer; Your vSphere client will generate an warning message if the SAN attribute is not included. The vShield administration guide seems to have omitted this information from the documentation. Different browsers IE & Firefox seem to want different SAN attributes to work correctly.
SANs can increase the risk of impersonation attacks because it allows a user to specify arbitrary names in a certificate request so care should be taken when enabling or supporting this attribute. See Microsoft’s security best practices for allowing SANs in certificates for more information.
Basic Procedure
- Generate the Certificate Signing Request (CSR)
- Submit CSR to the CA and add the SAN attributes
- Import the Signed Certificate
- Apply Certificate to the vShield Manager and restart services
Detailed Steps
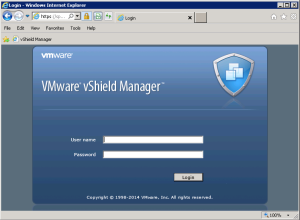
Login to the vShield Manager

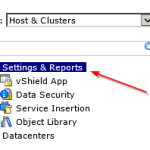
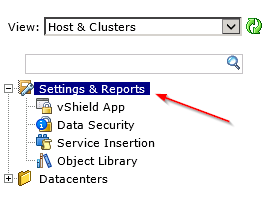
Click Settings & Reports from the vShield Manager inventory panel.
Click the Configuration tab and then select SSL Certificate.
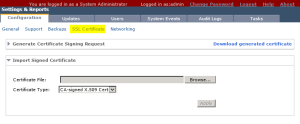
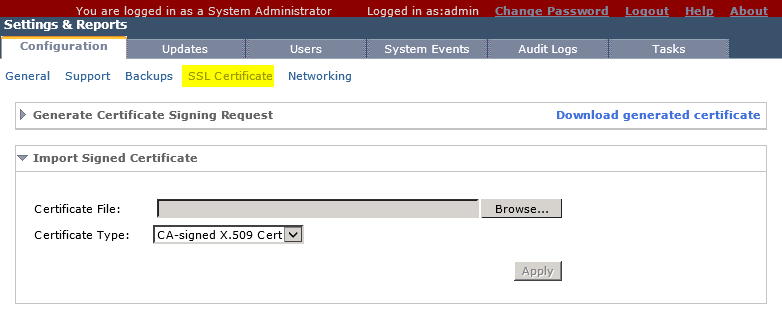
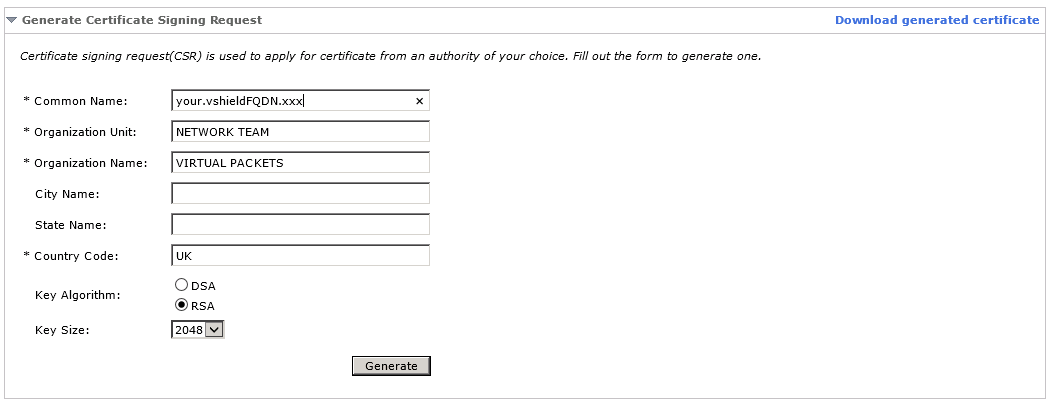
Under Generate Certificate Signing Request, complete the form and the click Generate.

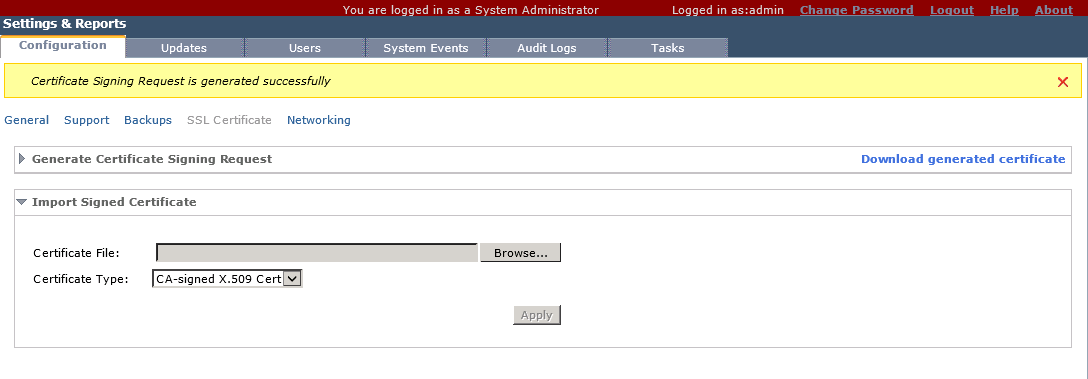
You will now see a message saying the CSR has been generated successfully. Save the CSR file; We will need this file later to submit to our CA.

Now lets submit the CSR to the CA server, browse to http://xxx.xxx.xxx.xxx/certsrv/ if using a Microsoft’s CA. You should be presented with a page similar to the one below.
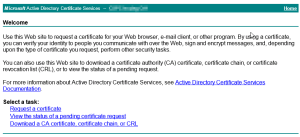

Select “Request a certificate”

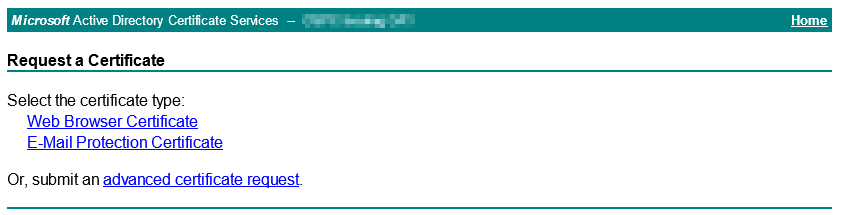
Select “Advanced certificate request”
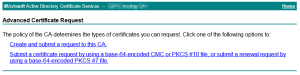
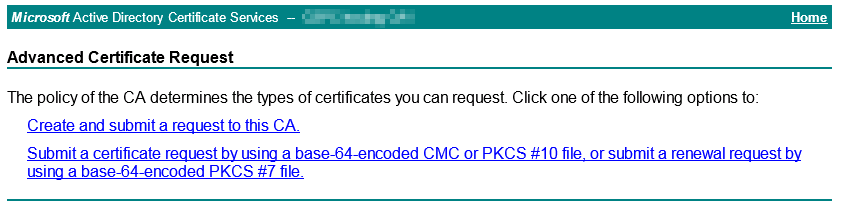
Select “Submit a certificate request by using a base-64-encoded CMC or PKCS#10 file”

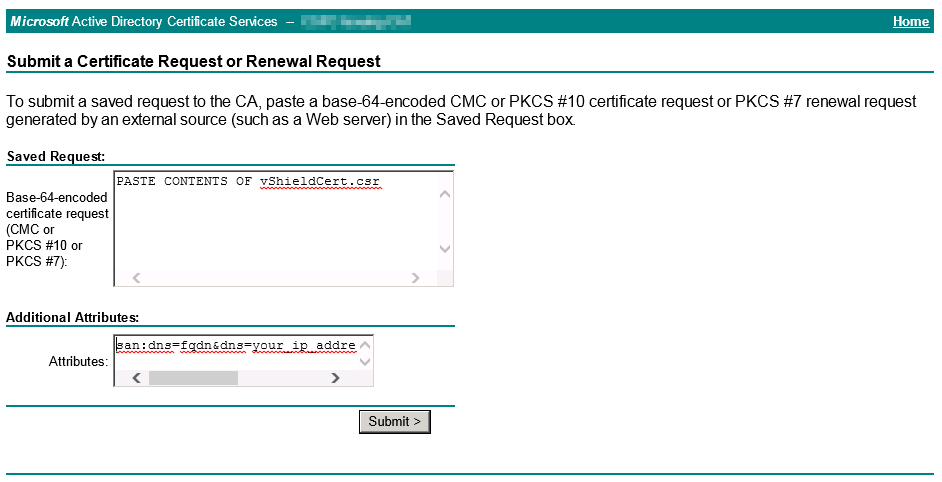
Open the saved CSR file with notepad that we generated earlier, by default this file is called “vShieldCert.csr” and copy and paste the contents into the first box. In the Additional Attributes field we need to add our SAN attributes.
The follow combination of SAN options seems to works well for both IE and Firefox browsers and vSphere Client.
“san:dns=fqdn&dns=ip_addressofvShieldmanager&ipaddress=ip_addressofvShieldmanager”
Then click Submit. Your certificate should need approving before you can download the certificate. You will also need the Root CA certificate and the Intermediate CA certificates (if applicable). So now you should have at least 2 certificates in DER format.
We now need to import the certificates back into the vShield Manager, I have found that each time you generate a CSR on the vShield Manager you will need to import ALL of the certificate one after each other; Root, Intermediate CA and Device, if you skip these steps your likely to get a an error as per the following article VMware KB 1035387
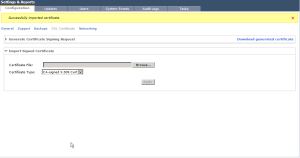
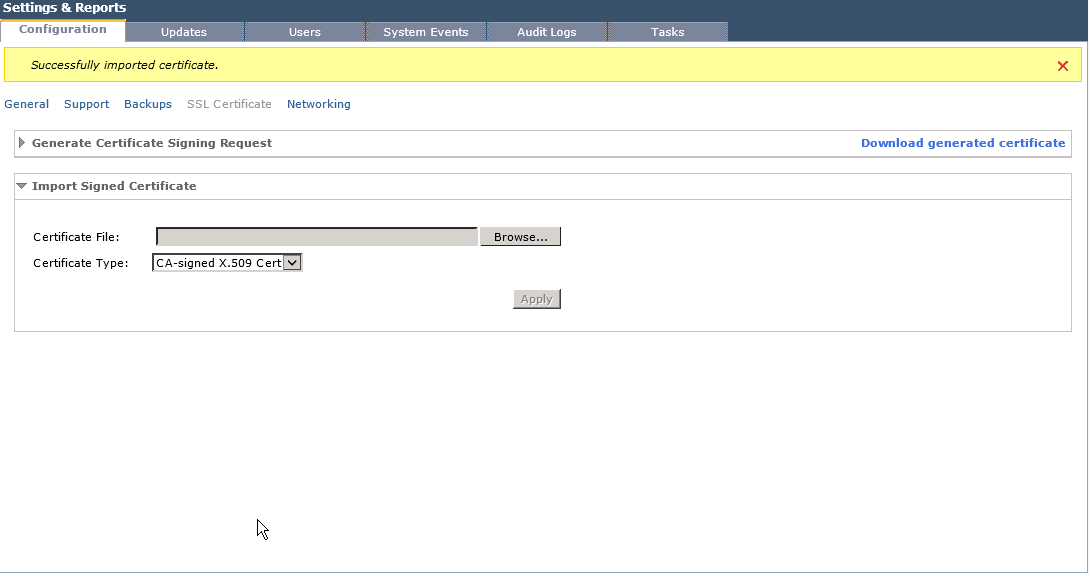
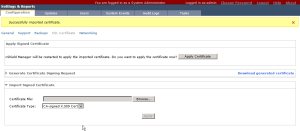
After each certificate is imported you should see a message saying “Successfully imported certificate” when the device certificate is imported you will be asked to Apply the Certificate and restart the vShield Manager. It will take a couple of minutes for the services to restart.
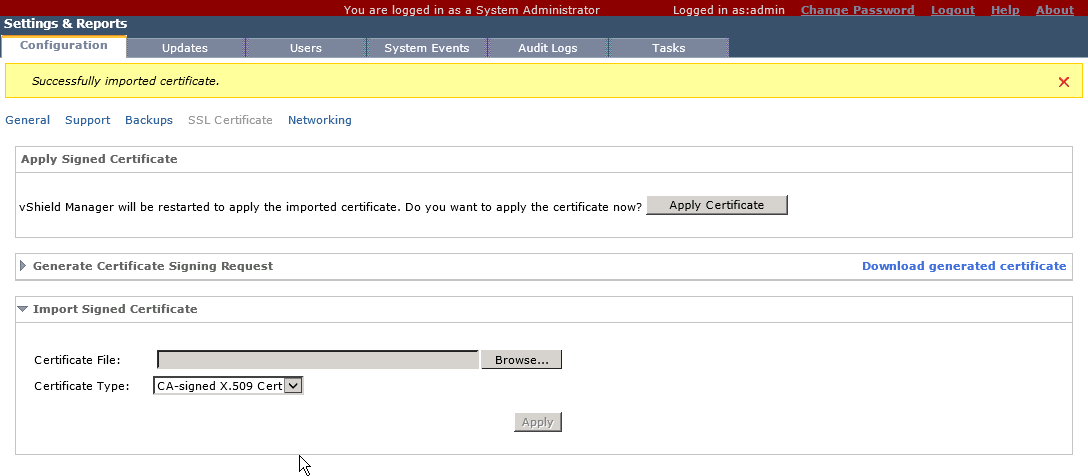
After the services have restarted you should be able to browse to the vShield Manager using the FQDN & IP Address securely and without any warnings.

The was successfully completed using the following vShield version.
VMware vShield Manager** 5.1.4 / Release 5.1.4-1740417